In the previous post I showed how to keep track of filter-action selections by creating a list. This is fine for making the selections. But what about de-selecting? Typically the user would need to go back and find each of the marks they clicked and click on them again to deselect. However, here we can set up a button that when clicked clears all of the filter-action selections back to the original state.
This application is an extension of the auto-deselect technique from Luke Stanke. You can read the original post here.
Here’s the clear all selections functionality:
I will walk through the steps for creating a clearing button that will act on one sheet, with the knowledge that we can extend this to multiple sheets simply by repeating this process for each additional sheet.
Step 1: Add two ad-hoc string fields to the sheet(s) to be cleared
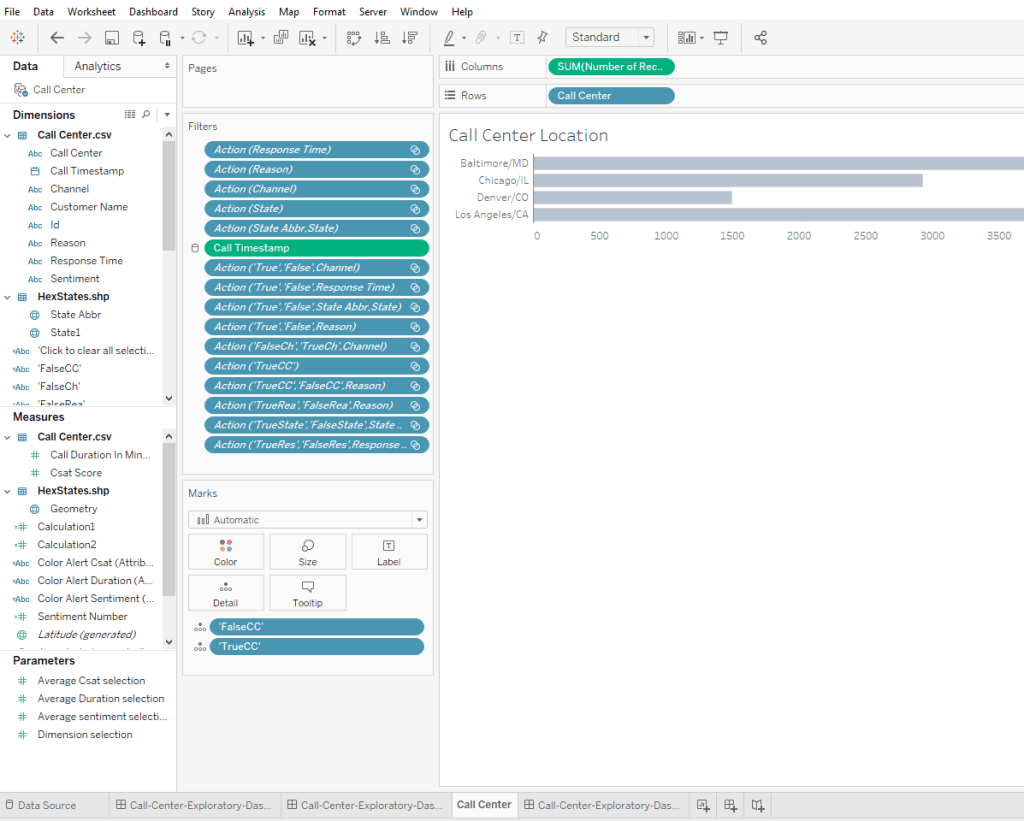
You can ignore all the crazy looking filter-action pills on the filter shelf. The important thing to note is the two fields on detail. You can create these as calculations and then place them on detail, or you can add ad-hoc calculations by double clicking in the space below the marks cards, typing in ‘FalseCC’, etc., and then dragging those pills into the dimensions part of the data pane. Whichever you like doing is fine as long as you end up with these two string fields on detail. It also doesn’t matter what you name them–I just find it easier to name them something opposite so that they are easy to remember when it comes time to create our filter actions.
Step 2: Create the clear button as its own sheet

Create a new sheet. Take the two dimensions you just created (in this case ‘FalseCC’ and ‘TrueCC’) and drag them onto detail. Add an ad-hoc calculation to use as the text for the button. (Again, ignore for now all the pills on the filter shelf as these will be added automatically when the filter actions are created.)
Step 3: Add the new sheet and create the dashboard action

Add the ‘clear selections’ sheet where you want your button on your dashboard. Resize it so that it is the size of a button with the text fully displayed. Next create a new Filter Action. The source sheet is the ‘clear selections’ sheet, and run action on select. Set the target sheet to the sheet to be cleared, and select “Show all values.” Next, add a filter and set the source field as ‘FalseCC’ and the target field as ‘TrueCC.’ Click OK.
Step 4: Repeat these steps for the ‘clear selections’ sheet
This technique should also be applied to the ‘clear selections’ sheet itself. This is done so that clicking the button does not highlight the mark, but will auto-deselect itself. It looks exactly the same as above with the one key difference being that when you create the dashboard action, the target sheet will be the ‘clear selections’ sheet itself.
(Step 5: Repeat for other sheets to be cleared)
If you have other sheets that you will be using as filters, repeat steps 1-3 above for each sheet.
That’s it!
I think this is a good user experience to add when dealing with multiple filter actions as the user can always reset the filters back to the original state with a single click.
